Glaze Tiips
The Yard Stick Glaze Hack That Saves Massive Time on Small Dishes
If you teach ceramics classes, run production pottery, or glaze a lot of small forms, you know how time-consuming dipping individual pieces can become. Tiny bowls, sauce dishes, ring dishes, and pinch pots may only take seconds each, but when you have dozens—or hundreds—the process starts to drag. Here’s a simple glaze hack that can dramatically speed things up using something almost everyone already has in the studio: a wooden yard stick. The Concept The trick works by using water and wet glaze to create temporary suction between a bisque-fired piece and a soaked wooden yard stick. Instead of holding and dipping one tiny dish at a time, you can attach several pieces to the stick and dip multiple dishes in a single motion. It’s fast, inexpensive, and surprisingly effective. What You Need Wooden yard stick Bucket or sink with water Small bisque-fired dishes Glaze bucket This works best with: Ring dishes Small bowls Sauce dishes Pinch pots Shallow forms with flat bottoms How It Works Both the bisque ware and the wooden yard stick are soaked in water first. Because bisque is porous and the wood absorbs moisture, the wet glaze between the two surfaces acts almost like a temporary glue or suction layer. Once pressed together, the small dishes cling to the yard stick long enough to dip them into glaze quickly and efficiently. The connection is temporary—but strong enough for fast dipping if handled smoothly. Step-by-Step Process 1. Soak the Yard Stick Dip the wooden yard stick in water for a few moments so the surface becomes damp. 2. Wet the Bisque Pieces Lightly wet the bottoms of your bisque-fired dishes. You don’t want them dripping—just evenly damp. 3. Press Pieces onto the Stick Attach several dishes along the yard stick by pressing the bottoms firmly against the wood. You’ll notice they “grab” surprisingly well. 4. Dip Multiple Pieces at Once Holding the yard stick, dip all the attached dishes into the glaze bucket in one smooth motion. 5. Remove and Set Aside After dipping, gently twist or pull the dishes off the stick and place them on your ware board to dry. Why This Hack Is So Effective Speed Instead of glazing one piece at a time, you can process several simultaneously. Cleaner Workflow Less finger handling means fewer fingerprints, smudges, and touch-ups. Great for Teaching Studios This is especially useful in group classes with kids or beginners where glazing can become slow and chaotic. Budget Friendly No specialty tools required. A simple yard stick becomes a production glazing tool. A Few Tips Don’t overload the stick with heavy pieces. Smooth, flat-bottomed forms work best. Re-wet the stick occasionally as it dries out. Practice the dipping motion before moving too fast. Keep a towel nearby for drips. Perfect for Classroom Production For studios teaching handbuilding classes or camps, this method can seriously reduce glazing time. If you’re helping students glaze dozens of small projects in a short class window, efficiency matters. Simple hacks like this can turn glazing from a bottleneck into a smooth part of the creative process. Sometimes the best pottery tools aren’t expensive tools at all—they’re just smart studio solutions.
Related Articles
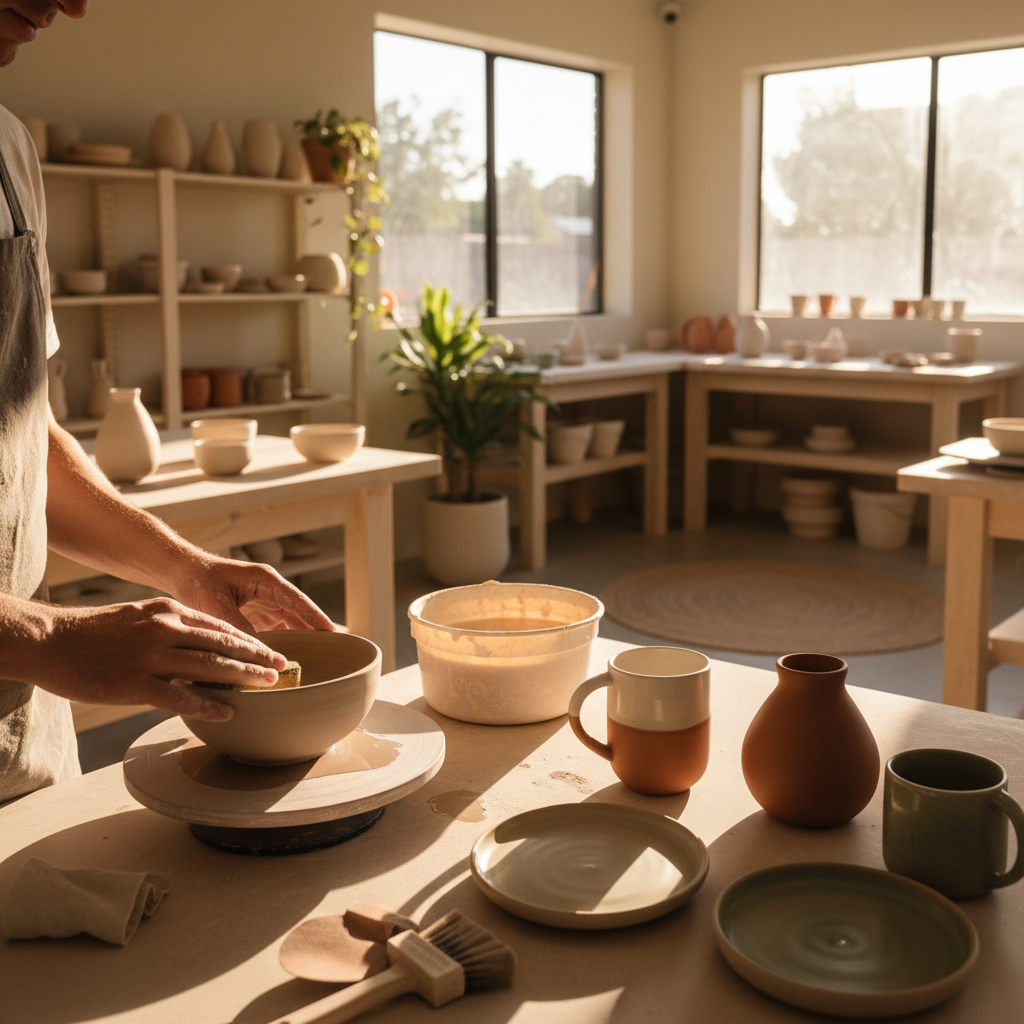
Mastering Wet Sanding for Pottery: A Beginner's Guide
Mastering the art of wet sanding can elevate your pottery to new heights. This vital technique enhances the finish of your ceramics, making them smoother and more professional. Dive into the world of wet sanding with this beginner's guide and learn how to achieve flawless results!
![[PHASE 2 TEST] Thin Trigger Verification](https://media.base44.com/images/public/69dedd576c121bd84ef268da/test-thumb.png)
[PHASE 2 TEST] Thin Trigger Verification
In our ongoing journey to master pottery techniques, we're excited to introduce the Phase 2 Test: Thin Trigger Verification. This test focuses on enhancing control and precision in pottery creations at Fired Up Arts in Huntington Beach, CA.