Mastering Wet Sanding for Pottery: A Beginner's Guide
Wet sanding is a critical technique for achieving a flawless finish on your pottery. Discover how to enhance your pottery pieces with this essential skill!
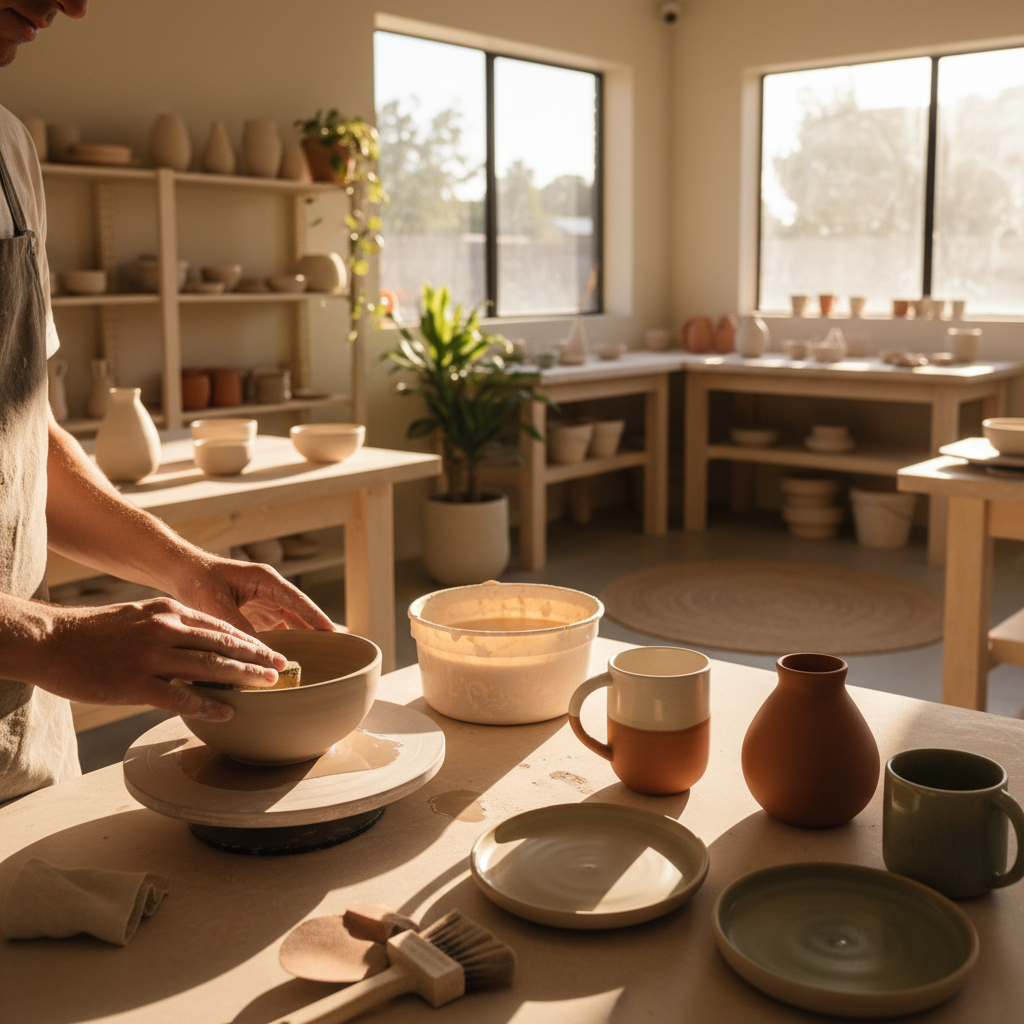
Watch the Original Reel
What You'll Learn In this guide, we will explore the process and benefits of wet sanding in pottery, a technique that not only minimizes dust but also provides a smoother finish to your ceramic creations. Whether you’re polishing the bottoms of your pieces or prepping for glazing, mastering this technique is essential for any potter.
Technique Breakdown Wet sanding is a process where both the sanding pads and the pottery piece are moistened. This technique reduces airborne dust particles and ensures a more polished surface on your ceramics. It's particularly significant when finishing the bottoms of your pots, where a clean, smooth finish is paramount.
Step-by-Step Process ### Step 1: Preparation Gather your materials: you will need wet sanding pads, water, and your pottery piece. Make sure you have a controlled workspace to avoid slipping and accidents.
Step 2: Dampen Your Pottery Before sanding, gently wet the surface of the pottery you intend to sand. This helps to keep the surface moist during the sanding process.
Step 3: Wet Your Sanding Pads Simply soak your sanding pads in water or spray them lightly to ensure they are damp before you start. This reduces friction and makes sanding more efficient.
Step 4: Begin Sanding With the damp sandpaper, start sanding your pottery piece. Move in circular motions, applying light pressure while ensuring the surface remains wet. This method leads to finer finishes without scratches.
Step 5: Monitor Progress Regularly check your work to ensure you’re getting the smooth finish you desire. Reapply water as needed to keep both the sandpaper and pottery moist.
Step 6: Clean-Up After achieving the desired finish, rinse your pottery piece to remove any residue, and clean your workspace to prevent dust from settling on other items.
Tools & Materials Needed 1. Wet sanding pads 2. Water 3. Pottery pieces (bisqueware or already fired pieces) 4. Spray bottle (optional for fine misting) 5. Clean cloth for drying
Beginner Tips - **Test on a Small Area**: If you're unsure, practice on a small, inconspicuous area first. - **Keep It Wet**: The key to effective wet sanding is maintaining moisture, both on the pad and the pottery. - **Stay Consistent**: Consistent pressure and movement yield the best results.
Why Try This at Fired Up Arts At Fired Up Arts Studio in Huntington Beach, we are passionate about helping you master pottery techniques like wet sanding. Our hands-on classes are designed for all skill levels, providing support and guidance to refine your craft. Enroll in a class today, and unleash your creativity in a friendly, inspiring environment!
Frequently Asked Questions
Wet sanding is a technique where both the sandpaper and the pottery piece are kept moist to minimize dust and achieve a smoother finish.
Yes, wet sanding can be done on any pottery that is either bisqueware or has been fired.
Wet sanding reduces scratches and dust accumulation, providing a finer, smoother finish on your pottery.
You'll need wet sanding pads, water, your pottery pieces, and optionally a spray bottle for easy application.
Absolutely! Join our classes at Fired Up Arts Studio in Huntington Beach to learn more pottery techniques like wet sanding.
More Reel Articles
Easiest Glaze Cleanup Hack for Pottery
Discover a simple yet effective glaze cleanup hack that makes pottery sessions cleaner and more enjoyable. Perfect for beginners and kids!
Trimming Techniques for Potters: Enhance Your Pottery Skills
Trimming excess clay off your pottery will provide a cleaner finish and lighten your work. Discover essential trimming techniques for immersive pottery creation at Fired Up Arts.
Exciting Art Projects for Homeschooling Moms: A Quick Ceramics Activity
Discover a fun and easy ceramics project perfect for homeschooling families. This same-day art activity boosts creativity and builds confidence in kids!
Related Articles
Mastering Wet Sanding for Pottery: A Beginner's Guide
Mastering the art of wet sanding can elevate your pottery to new heights. This vital technique enhances the finish of your ceramics, making them smoother and more professional. Dive into the world of wet sanding with this beginner's guide and learn how to achieve flawless results!

[PHASE 2 TEST] Thin Trigger Verification
In our ongoing journey to master pottery techniques, we're excited to introduce the Phase 2 Test: Thin Trigger Verification. This test focuses on enhancing control and precision in pottery creations at Fired Up Arts in Huntington Beach, CA.
Glaze Tiips
The Yard Stick Glaze Hack That Saves Massive Time on Small Dishes